Why powerflush?
If sludge and debris is not removed from heating systems, it can accumulate in radiators, pipework and heat exchangers, causing severe blockages. This diminishes the transfer of heat and can result in pipe, radiator valve and heating control servo valve damage. In some cases this will eventually lead to the premature failure of the boiler.
Powerflushing is a popular method of cleaning and maintaining a central heating system. A powerflushing unit sends water at high velocity through the system to dislodge and remove debris, limescale, and sludge build-up. A thorough powerflush will improve heat distribution throughout the property, subsequently lowering household energy bills and increasing system reliability.
Central heating sludge and debris causes..

How to powerflush?
What you will need
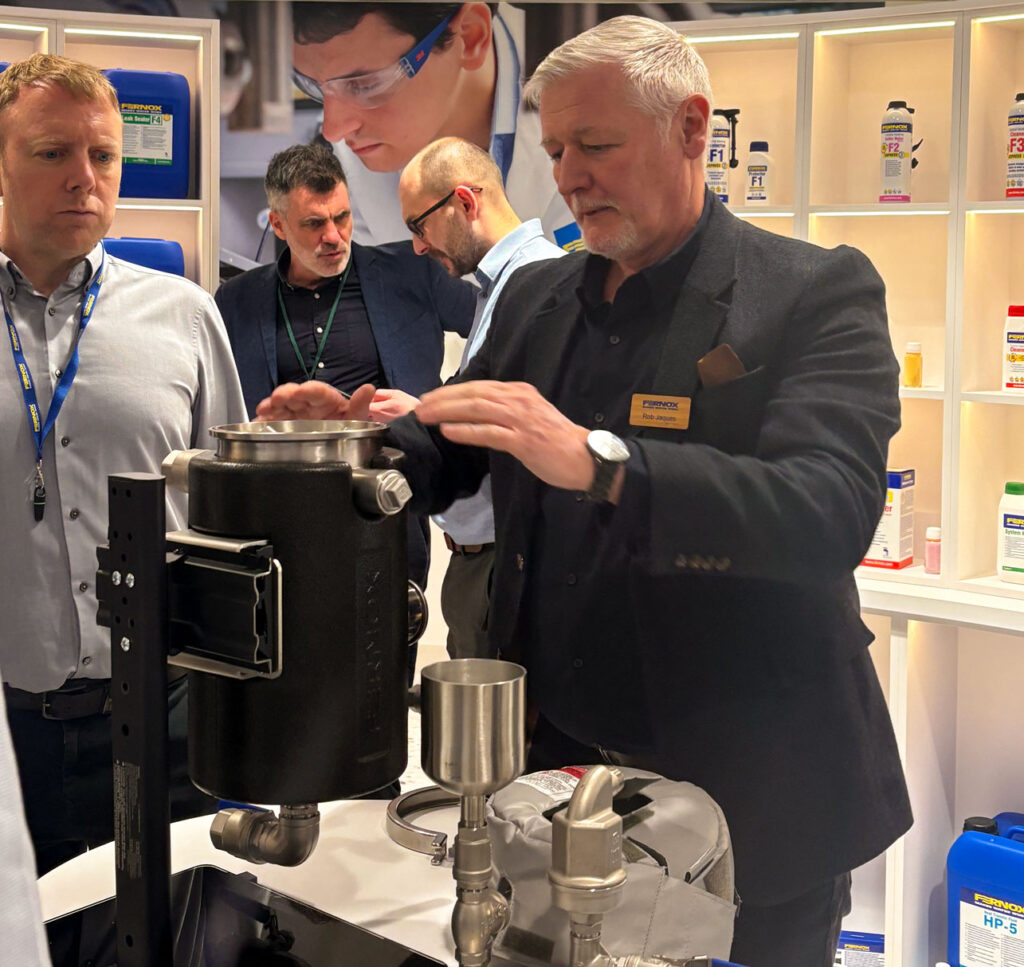
- Powerflush unit, such as the Fernox Powerflow Flushing Machine MKIII
- Fernox TDS meter
- Fernox Powerflushing Cleaner F5
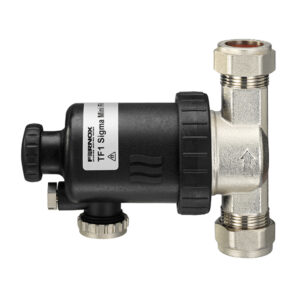
- A Fernox TF1 Flushing Adapter/ Powerflow Pump Head Adapter (if required)
- Powerflushing filter (optional)
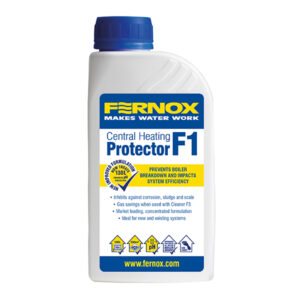
- Fernox Protector F1/ Fernox Filter Fluid+ Protector/ Fernox Alphi-11
- Fernox Protector Test Kit (optional)
Initial Check
An initial check of the house should be completed, in addition to consulting with the homeowner. Potential highly sludged areas should be identified, i.e. cold radiators, as well as areas which are highly corroded. When highly corroded components are observed, the homeowner should be made aware that cleaning may expose leaks in the most corroded areas.
Setting up your powerflushing machine
Before beginning the flushing process you will need to ensure the system is correctly set up to use the Powerflow unit.
-
- Turn off all electrical controls and electrically isolate the system (if applicable e.g. using a Powerflow Pump Head Adapter). Make sure all radiator wheel head and lock shield valves are fully opened.
- Check that all thermostatic radiator valves, or TRV heads, are either removed or set to maximum, and that all diverter and zone valves are locked open. Any anti-gravity valves should be bridged, bypassed or temporarily removed.
- Isolate all thermal store cylinders
- Now decide on the best position to locate and connect the Fernox Powerflow to the system. It should be in easy reach of a suitable waste pipe and near to a convenient mains water supply. Use an RCD (residual current device) when connecting the pump to the electrical socket.
The powerflushing machine can be connected to the system using TF1 Flushing Adapters which can be used where a Fernox TF1 Filter is installed. Alternatively, it may be connected across the flow and return pipes at the boiler (which is particularly useful when replacing a boiler), or you may also connect the machine across the circulator pump using a Powerflow Pump Head Adapter. Finally, you may connect the machine across a radiator, however this option should only be used if no alternative connection point is available.
5.Connect the mains water supply, overflow and dump discharge pipes, ensuring that all isolating valves are
6. Attach the powerflushing filter to the flow valve using the female camlock connectors.
7. Connect the hose to the other end of the powerflushing filter using the male camlock connectors.
Begin powerflushing
Turn the Powerflow unit on to carry out an initial flush to remove the system water. Refill with fresh water and dose the machine with Fernox Powerflushing Cleaner F5. Circulate the cleaner (whilst the heating is on, if possible) and begin dynamic balance flushing (reversing the flow periodically).
8. Shut off all except one of the radiators on the system.
9. With the system filled and the powerflush unit running, circulate and reverse the flow direction every one to two minutes.
10. Slightly open both the dump valve and the mains inlet valve. Ensure the dump pipe is discharge into an appropriate waste drain.
11.Slightly open both the dump valve and the mains inlet valve. Ensure the dump pipe is discharge into an appropriate waste drain.
12.Gradually open the dump valve further, balancing the increasing flow from the mains inlet. Aim for the maximum discharge rate that can be made up by the mains water supply available. Continue circulation with the powerflow throughout.
The fill and dump rate may need to be rebalanced when the flow is reversed due to differences in system resistance in each direction of flow. For all systems, isolate and clean the upstairs radiators first as downstairs radiators tend to be more affected by sludge and scale.
After the clean
Finally, after disconnecting the unit and recommissioning the system, you should dose it with Fernox Protector F1. If antifreeze protection is required, Fernox Alphi-11 may be used. Alternatively, systems with an in-line system filter fitted may be dosed with Fernox Filter Fluid+ Protector. Fernox central heating protectors ensure long-term protection against corrosion, limescale build-up and maintain system efficiency.
1. Add protector via a filter/ filling loop/ radiator. Fernox Express or Superconcentrate products can be injected quickly into systems, reducing time on-site.
2. Circulate the protector until the system reaches operating temperature
3. Check the protector concentration using the Fernox Protector Test Kit, then reset the controls and test-run the system.
Your system should now be thoroughly cleansed and flushed
The principle is to create a powerful fresh water flow under controlled conditions to remove debris from the system, watch our ‘How to…’ video for more information or contact us.
Need more information for your customers? Take a look at our homeowners video.